This page details Getty’s image processing workflow and tools. When working on images at the beginning of a Quire project, the goal is to end up with all the images ready to go into the project at once, and to batch this work as much as possible rather than doing everything to each image individually. Further, it should all be done in such as way as to be easily repeatable, both in case it needs to be done again for individual images or image groups that are changed later in the production process, or in case all the images need to be reprocessed.
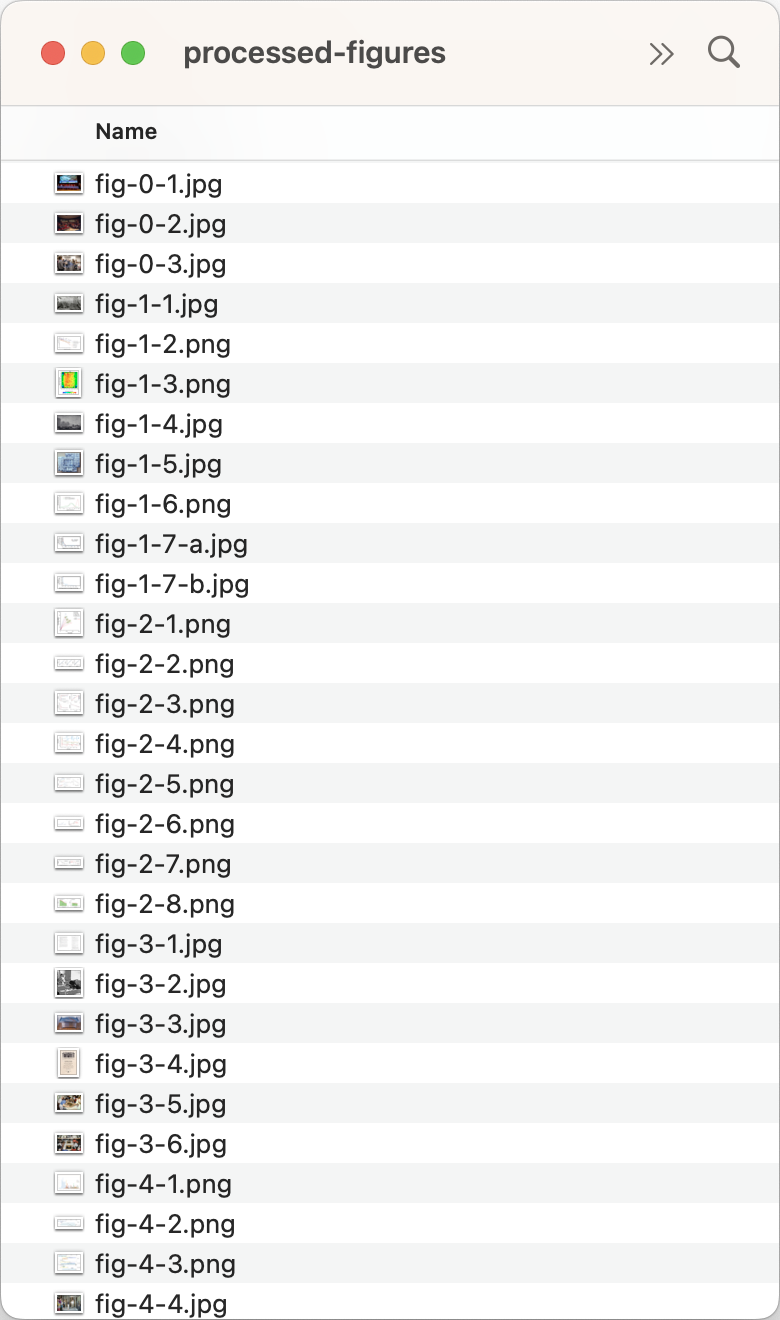
Figure images will be transmitted to the digital department via the department server or OTMM, Getty’s digital asset management system. When beginning work on transmitted images, always copy them into a local directory and leave the source files where and as they are. It is also recommended to create temporary duplicates of the local directory in between the major steps outlined below, which will allow easier recovery if something goes awry with any one of these steps.
Example Workflow
- Download transmitted figures into a single directory (do this in a folder synched to Getty’s OneDrive for added redundancy)
-
Name the directory
1-standardizedand standardize the file formats and naming of all the images inside it -
Duplicate the directory as
2-process--cropped-flattened-coloredand go through the processing steps to crop, flatten, and colorspace/colorprofile all the images in Photoshop -
Duplicate that directory as
3-process--formatted-compressed-resizedand go through the steps to update the formats, add image compression, and resize the images in ImageMagick - Run a check to make sure everything processed as expected, take note of any images that are too small to zoom
-
Add the images to the project, in the
figuresdirectory of the project repository, and push them to GitHub
Read below for detailed instructions on how to standardize, process, and check figures images for Quire projects.
This guide does not currently cover processing for layered, annotated, or sequenced/rotating images.
Standardize Figure Formats
Each image should be converted to one of our core formats: JPG, TIF, GIF, PNG, and SVG.
| Format | Details |
|---|---|
| GIF | Used for animations. Non-animated GIFs be converted to JPG through the process below. |
| JPG | Used for most figures. Standard format on the web, can be compressed to keep file size down. |
| PNG | Used for charts and diagrams. A lossless format that offers crisper lines and type, and also supports transparency. |
| SVG | Good for charts and diagrams, but our current workflow converts them to PNG through the process below. SVG is a plain-text vector image format can be styled and animated with CSS and JavaScript. |
| TIF | A common delivery format, TIFs are high-fidelity and can include layers, but are converted to JPG through the process below. |
The following is a format-by-format reference. If you come across file types not listed here, please check in with the digital manager for instructions. The resulting instructions should then be added this guide for future reference.
Regarding the many formats listed here outside our standard ones, they are often provided per our instructions as “source” files as they allow for easier manipulation down the line if needed. Is these instances, we also ask a static copy be provided in one of our standard formats. If a static copy has been provided keep that version and set aside the other. If not, create a new static copy per the instructions provided.
AI: Save the file as a PNG or SVG. If layers are hidden in the file, assume the author did not want them included but make a note of this and add it to a running list that we can query the editors/authors with at first pages.
BMP: Save the file as a PNG or JPG. (PNG is better for images with lines and type, JPG is better for raster or photographic images.) Also check take note of the image pixel dimensions. BMP files are often the result of having been output from scientific measuring tools and can be quite low-resolution.
DOCX: If the file is a table, tables are
processed for Quire in a separate step and so these files
should be set aside. If instead the file has a static image
embedded in it, this image will need to be extracted. To do
so, save the file as HTML and extract the image file from the
resulting directory. Or, rename the file with a
.zip extension, unzip the file, and extract the
image file from the resulting directory.
GIF: Open the file in a browser. If it is not animated, it is good as is. If it is animated, the file should be no larger than 6MB, but under 2MB is preferable. To bring the size down, a GIFs dimensions can be reduced, the image can be cropped, or frames can be removed. Once the GIF is at an optimal size, proceed with the file naming standardization described below, but skip all the other processing steps.
JPG: Good as is, but rename
.jpeg to .jpg if the longer
extension is used.
PNG: Good as is.
PPTX: If the image is a chart or diagram that
has been created within PowerPoint, use File > Export and
export the slide as a PNG file at the maximum size allowed,
which is believed to be 4000px width. If the image is a
rasterized image that has been inserted into a slide, rename
the file with a .zip extension, unzip the file,
and extract the image file from the resulting
ppt/media/ directory. (Note that there is a “Save
as Picture” function within PowerPoint, but it’s not always
clear how to extract the source image as it was embedded,
without further processing using this function.)
PSD: Save the file as a JPG. If layers are hidden in the file, assume the author did not want them included but make a note of this and add it to a running list that we can query the editors/authors with at first pages.
SVG: Good as is.
TIF: Good as is, but rename
.tiff to .tif if the longer
extension is used.
XLSX: If the file is a table, tables are processed for Quire in a separate step and so these files should be set aside. If the file contains a chart or diagram, it will need to be converted to an image file. Note that charts and diagrams like this are generated from data in the same Excel file, and and so are live images that can be changed (for better or worse) with changes to the data or the chart settings. Fonts may also look different from system to system, so it is preferable for authors to supply a flat image along with an XLSX file for us to ensure what we’re seeing is what they are expecting. To convert to an image file, the best known system is just to take a screen shot of it. Open it as large as possible on a monitor screen, hide the grid lines and take a screenshot. This will result in a PNG file.
Standardize Figure Names
Just as figure formats need to be standardized, so do figure file names.
Figure Naming Conventions
Filenames of all types in Quire are always lowercase and use hyphens in place of spaces. Do not use any special characters in the filename, such as periods, spaces, ampersands, parens, etc.
Filenames for figure images generally include a
fig- prefix followed by an integer specific to
the figure.
The numbering of figure image files should always take its cue from the way figures are labeled in the book.
If the figure numbers will be sequential across the whole
book, and the project has less than 100 total images, figure
names should include two digits: fig-01.jpg,
fig-02.jpg, and so on. If the project has 100 or
more, but less than 1000, figure names should include three
digits: fig-001.jpg, fig-002.jpg,
and so on.
If figures are numbered by chapter, they will include the
chapter/essay number followed a figure number: Figure 1.1,
Figure 1.2. The filenames should follow that convention, but
with hyphens instead of periods or spaces:
fig-1-1.jpg, fig-1-2.jpg.
If a figure is comprised of a group of images labeled by
letters (a, b, c, …) these letters should be included in the
filenames: fig-1-1-a.jpg,
fig-1-1-b.jpg; or fig-001-a.jpg,
fig-001-b.jpg.
Variations to these naming conventions are fine, as long as
they are sensible, reasonably brief, consistent within the
project, and follow the basic rule of using lowercase and
hyphens. For example, the Getty Research Journal uses
the last name of the authors and a two-digit figure number as
the individual papers aren’t numbered. It also omits the
fig- prefix for brevity.
Figure Renaming Tools
Except for groups with very small numbers of images, always look for programmatic solutions to updating files names to match the conventions above rather than renaming them individually and manually. It’s a good idea to make a copy of the images directory before beginning bulk renaming as the naming can be hard or impossible to undo.
The most expedient and full-featured renaming method is to use Tools > Batch Rename in Adobe Bridge.
Alternately, in macOS Finder, you can select a group of files, Control + Click on them (or a two-finger click on the trackpad also works), and select “Rename …”. This give you the ability to replace text, add text, or format the name altogether.
Or finally, the command line can be used. The
mv command will move a file from one place to
another, but it also can move it from one name to another.
mv current-name.jpg new-name.jpg
A complete list of mv commands for every image in
a directory can be created using Excel.
- Use the “Rename …” function to replace any spaces and any periods other than the period before the file extension with hyphens
- In the Finder, select all the images you want to rename and Command+C to copy them to the clipboard
- Open a new Excel workbook and Command+V to paste the filenames into the column A of the sheet
- Select these values and use Data > Text to Columns to split the text at the period, which leaves the filename in column A and the extension in column B
- In column C, start creating the list of new figure names: “fig-001” in row 1, “fig-002” in row 2, etc. After typing in three of four rows, select all of them, click and drag on the bottom edge of the selection box to automatically populate the remaining rows, down to however many names you have listed
-
In column D, use the the formula
=CONCATENATE("mv ",A1,".",B1,"
                      ",C1,".",B1)
to create a list ofmvcommands which can then be copy-pasted in bulk in to the command line
Process Images
Once the image files types and file names have been standardized, they are ready for processing using Photoshop and ImageMagick. Photoshop is used for cropping and other processes that are difficult to batch, everything else should be done in a batch with ImageMagick.
The ImageMagick examples below use the
magick mogrify
command which changes the source file directly. There is also
the options of instead using the
magick
command alone to leave the source files as is and to instead
write a new file, though some additional options must be
passed in this case to maintain the source filename and to
tell ImageMagick where to save the new files.
When running ImageMagick commands, or any command-line tool,
remember that where you are in the shell, is where file paths
are relative from. For example,
magick -format jpg fig-001.tif will look for the
fig-001.tif file in the directory you are currently in within
your command line shell. Whereas
magick -format jpg my-project/fig-001.tif will
look for the my-project directory first and then
the image inside there.
Crop
In a traditional print-book workflow, the source images are left uncropped and any cropping needed is done within the layout tool (usually Adobe InDesign) as images are placed in the pages. In Quire, the source images themselves must be cropped prior to being placed in the pages.
Because cropping image files is an irreversible change, it is doubly important to make duplicates of the files prior to cropping in case they need to be re-cropped later.
Open up images one at a time and follow these cropping guidelines:
- Crop away excess borders, uneven borders, rough edges, and the like
- Diagrams and other images that are on a white background should not go right up to the edge, add a small white border (~40px) evenly around the image if needed
- If two images will be shown side-by-side, crop them to the same aspect ratio if possible
-
If an image is actually a composite of two or more images in
a group, it is usually best to split them into separate
image files and use the
figuregroupshortcode to display them. This may require adding “a”, “b”, and “c” designations to the resulting images, so also check with Editorial on this as well. - If it’s unclear what can/should be cropped in an image, check with the Digital manager or leave the image as is and add it to a running list that we can query the editors/authors with at first pages
Flatten
TIF image files sometimes include layers, but these will cause
problems for ImageMagick processing so it is best to flatten
layered TIFs. This can be done in Photoshop. There is also a
-layers
option in ImageMagick to do this, though it can inadvertently
crop areas of the image.
Color
All images should be in the RGB/sRGB colorspace with an Adobe RGB (1998) color profile, except for black-and-white diagrams and line drawings, which should be Grayscale/Gray with a Gray Gamma 2.2 color profile.
In Photoshop, use Image > Mode to set the colorspace, and
Edit > Convert to Profile to set the color profile. Or in
ImageMagick, use the
-colorspace
option and the
-profile
options respectively. For the -profile option,
these ICM files will be needed:
- Adobe RGB (1998) ICM color profile file
- Gray Gamma 2.2 ICM color profile file
Format File Type
Convert TIFs and non-animated GIFs to JPG using the
-format
option in ImageMagick. Also convert SVGs to PNG.
magick mogrify -format jpg *.tif
          magick mogrify -format jpg *.gif
          magick mogrify -format png *.svg
When processing TIF files with ImageMagick, it is not uncommon to get warnings like those below. As far as is known, these do not have any adverse effect on the final images for Quire.
mogrify: Wrong data type 3 for "GainControl"; tag ignored. `TIFFReadCustomDirectory' @ warning/tiff.c/TIFFWarnings/958.
          mogrify: Unknown field with tag 306 (0x132) encountered. `TIFFReadCustomDirectory' @ warning/tiff.c/TIFFWarnings/958.
          mogrify: Wrong data type 2 for "LensSpecification"; tag ignored. `TIFFReadCustomDirectory' @ warning/tiff.c/TIFFWarnings/958.
Compression
Compress all JPG images to 80% quality using the
-quality
option in ImageMagick.
magick mogrify -quality 80 *.jpg
If file size is an issue, a 70% compression quality is usually okay as well, but don’t go below that. If further file size reduction is needed, it would have to be achieved with smaller pixel dimensions.
Size
Though Quire has no size limit on zooming images, Getty’s standard is to include them at no larger than 8192 pixels on the long side. This creates multiple layers of zoom, without too large a number of image tiles to process and host.
If an image is not going to be zooming, it should be included at a maximum size of 2048 pixels on the long side, or as low as 1200 pixels.
Resize all images to their maximum size using the
-resize
option in ImageMagick. The greater-than > sign
is used to ensure that the image is resized only if is greater
than the given dimensions.
magick mogrify -resize '8192x8192>' *
These best practices can be improved! As you develope new tools and techniques, be sure to document them here.
Run a Final Check
It can be useful to do a quick output of some key
characteristics from the image files using the ImageMagick’s
identify
command. A check like this can be used to quickly see that the
images are all at the correct file format, size, color space,
color profile, or other characteristics.
Single Image
The following command will output ImageMagick’s default metadata about the specific file.
magick identify fig-001.jpg
Using the -verbose option will output
all the metadata about the image.
magick identify -verbose fig-001.jpg
Groups of Images
Using an asterisk (*) in place of the file name
will match any file.
magick identify *
Using an asterisk (*) with the file extension
will match only images of that extension
magick identify *.jpg
Custom Output
Alternatively to ImageMagick’s default output, the
-format
option to request and format particular information about the
image. The following command that will output a
comma-separated list with the image filename
(%f), extension (%e), pixel width
(%w), pixel height (%h), color space
and ICC color profile. This could then be copy and pasted into
a text editor and saved as a CSV for further analysis.
magick identify -format "%f, %e, %w, %h, %[colorspace], %[icc:description]\n" *
Read more about
the different properties that can be grabbed
through the identify command in the ImageMagick
documentation.
Add the Files to the Project Repository
Once the files are ready, they should be added to the
content/_assets/images/figures/ directory in the
project repository, committed, and pushed to GitHub.
Note that unless 100% of the images included are Getty owned and open access, the figures directory should be included in the repository as a private sub-module as described in the “Code Repository & Deploy Setup” chapter of this guide. In most cases, the sub-module will be already be set up.
After adding the images, also take a moment to add one or more GitHub Issues documenting anything about the figures that will need to be addressed or checked on later on. Issues such as:
- Images that are paired or grouped
- Images that are FPOs (temporary low-res files that are “for placement only”)
- Images that are too small for zooming (less than 800px on the long side)